Showing posts with label paint. Show all posts

Friday, 27 April 2012

Galaxy Nails


Max Factor - Onyx
Marks and Spencer - White Tip
Barry M - Yellow
17 - Orange Soda
Missguided - Mischievous
George - Jackpot
Make up sponge
Cocktail Stick


I kept seeing these about other blogs and decided to have a go at my own.  Heres how I did it:


  1. I painted my nails all over black (over a base coat!)
  2. Ripped up the sponge and used the torn side to dip it into white polish and use it to sponge random lines over my nails (into the shapes in my nails above)
  3. I went over some of the white with the yellow with the sponge again (not completely covering the white but most of it)
  4. Next I used the orange and pinky red to sponge over small parts of the colours already (not too much, just maybe one side of it)
  5. I used the white with sponge again just to blend it a bit more into the black very gently, not much at all, just enough to make it not look like as solid lines.
  6. I used a cocktail stick to put random white dots all over the black.  Keeping them tiny apart from one or two big ones.
  7. After this was dry I used a small glitter polish coat just to add more stars too the look
  8. And finally a topcoat!
This was a very quick nail art for me compared to how long it usually takes!  The sponged areas dry almost instantly so there is no waiting around for nails to dry for so long :)


Tuesday, 24 April 2012

Tipped Sparkle Red


Max Factor - Onyx
Max Factor - Deep Mauve
OPI - Pirouette my Whistle
George - Matt Finisher

I had the max factor deep mauve for a long time now and only worn it once as I am not a huge fan of full red on my nails(although this is a gorgeous red that shines purple ish in the light).  Then I got the OPI glitter polish I thought it would go great together so I put 2 coats on top of 2 coats of the red and wore it yesterday.  

I had a bit of wear on the tips but didn't fancy taking it all off so soon (trying to get glitter off with an acetone free remover is frustrating!) so I used tape to mark out V shaped tips and painted black over :).  I LOVE matt top coats on top of glitter and wanted it to look totally different from yesterday so I matted them after :) and I love them.  What do you think?

Sunday, 22 April 2012

White Glitter Mani


OPI - Don't touch my tutu
OPI - Pirouette my whistle
Marks and Spencer - White
George - Matt Finisher


Here is a matte white glitter manicure.  I used 4 coats of don't touch my tutu and 1 coat of pirouette my whistle, then using manicure stickers I painted my white tips and finished with  matte topcoat.


This is my first time using this OPI glitter polish and I love it.  It is so sparkly and full of glitter!  


I hope you like this mani!  

Saturday, 21 April 2012

Newspaper Nails


After painting my nails with my new OPI - my pointe exactly I realised that is is a great colour for doing newspaper nails.  I have tried these before and the writing came out smudgey or not very strong on most nails.  But these ones turned out great!  I think it must be based on the first nail polish you put down as well as how you apply the print onto your nails to get it nice and clear like this. Here is how I did it:

OPI - My Pointe Exactly 
George - Matte Finisher
Gin (60%) but any strong alcohol works
Cotton Wool
Bits of newspaper writing cut out to nail shapes

  1. I first painted my nails all over with the OPI varnish.  It took 4 coats to get it to a usable colour for these.  
  2. I waited till they were COMPLETELY dry (or you may have actual pieces of newspaper stuck to your nails!)
  3. I dipped my finger into the gin and then dipped the newspaper cutouts into the gin while holding it with tweezers.
  4. Then I carefully positioned the newspaper print side down over my nail the way I wanted it and covered it with the cotton wool and pushed down an even pressure all over my nail for about 20 seconds. 
  5. I removed the cotton wool and gave the newspaper a quick last push down to make sure as much ink got off it as possible and gently peeled it off with the tweezers.
  6. Any excess paper left on my nail I picked off with the tweezers gently.  But don't worry too much about little fluffys left because they are not noticeable after a topcoat.
  7. Repeat these steps with all your nails and you should have these!
  8. I finished with a topcoat and then a matte topcoat (because newspapers are not shiny :))
Hope this tutorial made sense and was easy to follow.  Leave a comment about how it worked for you and leave a link if you tried it out and snapped a photo :)

Julie


Sunday, 15 April 2012

Sparkle Tips


George - Witchcraft
George - Jackpot
George - Matt Finisher

First I painted my nails all over with the witchcraft colour.  Once that was dry I painted the tips (and one full nail) with 3 coats of the Jackpot glitter varnish and left to dry.  I finished with the Matt Finisher :)

These would be good christmas nails!

Dotted Green Tips


George - Smarty Pants
George - Base Coat
Marks and Spencer - White
Cocktail Stick

Here I painted my nails all over first with 2 coats of the base coat.  Once that was dry I put the french manicure stickers on to separate the tips off and painted them the smarty pants colour and fully painted my full coloured nail.  Once that was dry I dotted the white over the tips, and all over the full colour nail for this look.  And finally a topcoat.

My fiance took this photograph :) you can find other stuff by him here

I created the new title at the bottom of the picture to use on all the photographs from now on.  Let me know what you think.

This is my entry for the Born Pretty Store blog competition :)


Tuesday, 10 April 2012

White Tipped


George - Smarty Pants
Barry M - White
George - Matt Finisher
Topcoat
Tape
Silver Tinsel

I first painted my nails all over the smarty pants colour.  When that was dry I taped of a diagonal line for the white to go.  Once the white was dry I put a topcoat on and used tinsel cut to the size of my nails to separate the two colours.  Another topcoat once it was dry and finally a matt topcoat.  


Circus Nails


George - Smarty Pants
Barry M - White
Tape

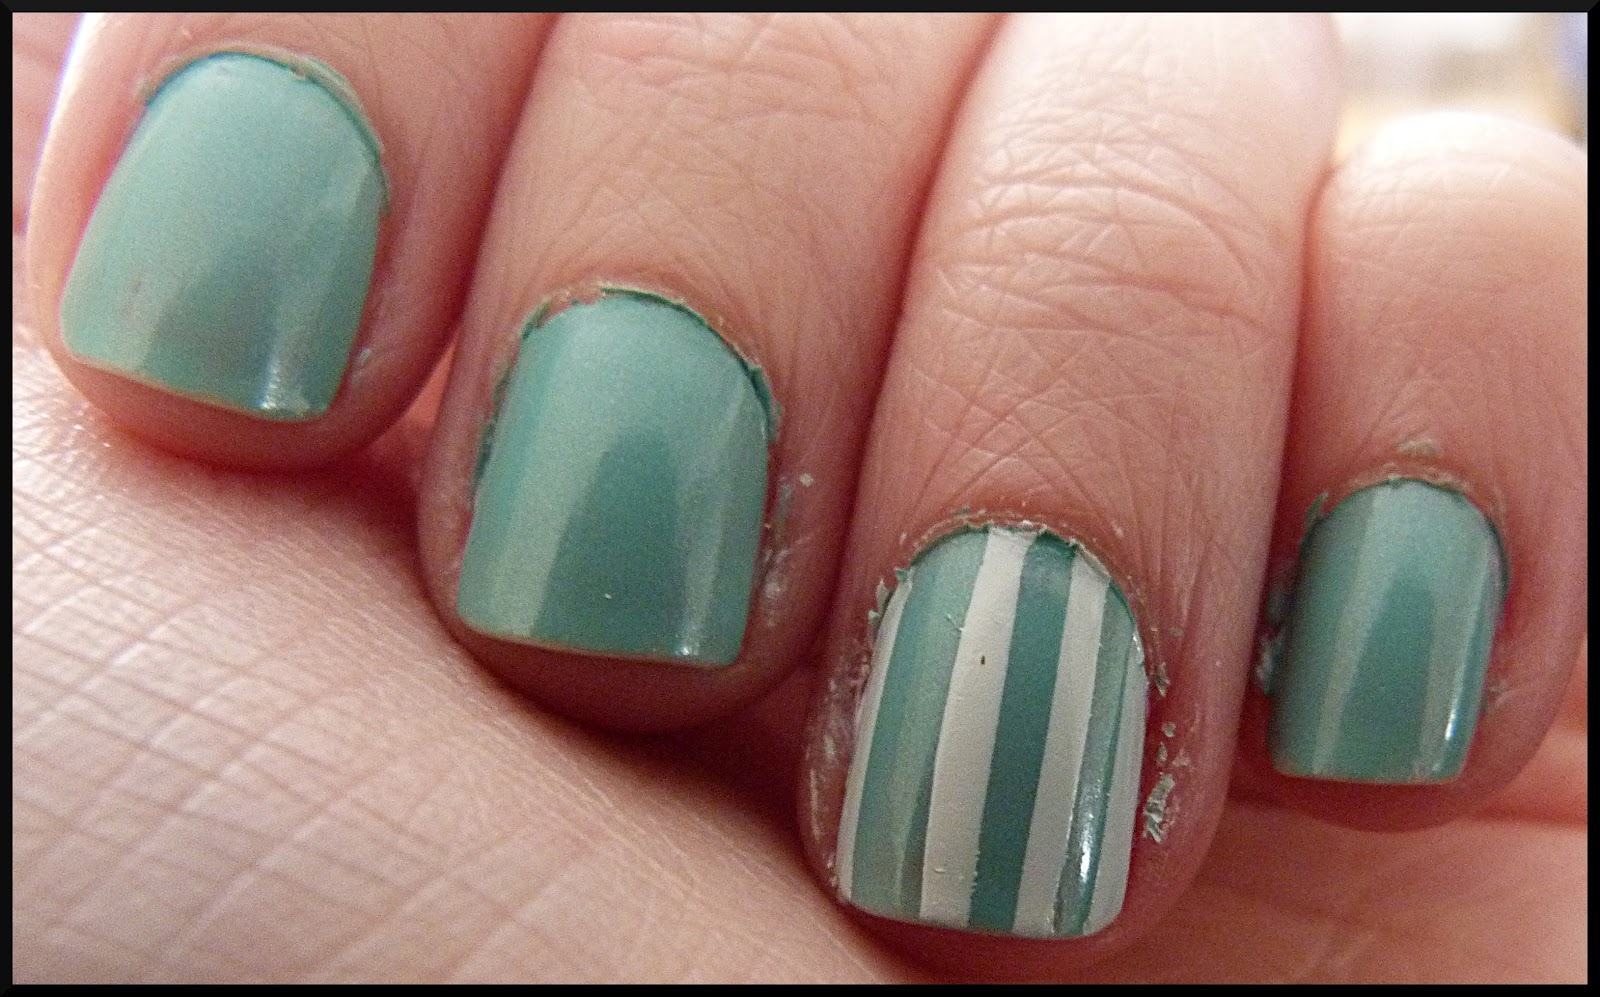
Excuse the messy bits around my nails! First I painted my nails all over with smarty pants, then once that was dry I cut out thin and thicker strips of tape and put them on the nails I wanted the designs on.  I painted white polish over that and peeled the tape off before it dried.  Circus nails!


Candy Nails


George - Sherbert Fizz
Barry M - White
George - Matt Finisher
Tape

I first painted my nails the sherbert fizz pink and waited to dry before cutting tape into small long triangles and putting them on the nails I wanted the design on.  Covered those nails with white nail varnish and peeled off the tape before it dried.  Finished with a matt topcoat.

Excuse the mess around my nails haha.

Friday, 6 April 2012

Polka Dot Lines


Here are my weekday nails. Just a quick paint with the bottom colour and then quick dots with my kirby grip, and then a topcoat.

Quick Easter Nails


These were just silly cute nails I did and managed to smudge straight after this webcam picture was taken so they had to come off :( 


I mixed my purple and yellow nail varnish with white nail varnish to get the lilacy and pale yellows :)


Here is the video I got the idea from:


Gradient Ombre Pinks


Max Factor - Disco Pink
Barry M - White
Topcoat
George Manicure - Matt Finisher
Cocktail Stick

I was just playing about with this, I didn't think this would actually turn out keepable!  I only have one shade of pink so I painted my thumb the original pink.  Then on a sheet of paper I mixed the white and pink together to make a lighter shade and that went on my index finger, added more white for the third finger and so on.  After that had dried I used the cocktail stick and the white to dot lots at the top and less as I came away from the tip.  I think it looks quite like snow :) I was going for an easter look, but seeing as it is snowing outside as I type this it is quite fitting!  I sealed with a topcoat and waited a few hours to dry completely before doing any washing or physical things with my hands.  The dots took ages to dry.  Next day I put on matt finisher and there you go!

ASDA Matt Finish

I love matt finishes but I cant afford to spend £10 on a nail varnish.  In asda I noticed a matt finisher by george.  For £1.75! So I bought it and it works great! I wish I had taken a before picture to show how it works. But here it is after I applied the matt:


It applies really well and easily.  I got two other george nail polishes today so when this chips off I will post those colours!

Friday, 30 March 2012

French Manicure with Bows 2


French Manicure with Bows 2

Colour Trend - Iced Pink
Barry M - White
Black Acrylic Paint
Tape
Small Paint Brush
Cocktail Stick
Topcoat

This is the second bow french manicure I did.  I love french manicures, they just always go with anything and make nails look neat.  I used a shimmery pink and a white nail varnish to create the classic french manicure and used tape cut into a curve to keep a nice neat line. After this was dry I used black acrylic paint and a small paint brush to draw a black line between the two colours and painted a small bow like above.  I then used a cocktail stick to place a small dot in between each bow.  Then used a topcoat to seal.


Purple Polka Dot Tips


Purple Polka Dot Tips

Max Factor Nailfinity - Boja
Max Factor Nailfinity - Onyx
Barry M - White
Topcoat
Kirby Grip
Tape

I nailed this look by first painting my nails a dull purple and waited for it to dry.  I used tape to make a diagonal tip, then i painted a thin white line along the edge of the tape.  I waited for this to dry completely and put another piece of tape just a little bit above the bottom line to make sure it was completely straight and perfect, I then painted the rest of the tip black so when I pulled off the tape I was left with my nails in picture one.  I really liked this effect but I really wanted to go for cute polka dots so I put a little of my white polish on a piece of foil and used my kirby grip to place even spots on the black tips.  Finish with a top coat.

http://polishartaddiction.blogspot.co.uk/2011/09/teal-polka-dots.html  Here is where I originally saw the idea :)

I will try and take more pictures of the process I go through to do my nails :)

French Manicure with Bows


French Manicure with Bows

Colour Trend - Iced Pink
Barry M - White
Black Acrylic Paint
Tape
Topcoat
Small Paint Brush

I nailed this look by first creating a classic french manicure using baby pink shimmer nail polish, and white.  I used tape which I cut into a curve to create a nice line.  Next I used acrylic paint and a small paint brush to draw a line between the two colours and paint a small simple bow.  I finished with a top coat.

This is the first of another bow french manicure I tried.

Pinks and Spots


Pinks and Black and White Spots

Colour Trend - Iced Pink
Max Factor Nailfinity - Disco Pink
Max Factor Nailfinity - Onyx
Barry M - White
Topcoat
Tape
Kirby Grip

I nailed this by first painting my nails with a light pink nail varnish.  After leaving it to dry I used tape to make a diagonal line across my nail and painted bright pink over the top half.  I pulled the tape off carefully before the paint had a chance to dry to avoid pulling off any of the paint.  After this coat had dried I used the end of my kirby grip to do the dots - By blobbing some white nail varnish on some foil and dipping the end of a kirby grip that had been stretched open and pressing it down on my nail, leaving a space in between each white dot to leave room for the black dots after.  Finish with a topcoat to keep it on for longer :)

I will be doing photo tutorials if people request them once my blog gets up and running.

If you have tried your own version like this please post a link to show us :)