Showing posts with label art. Show all posts

Saturday, 23 June 2012

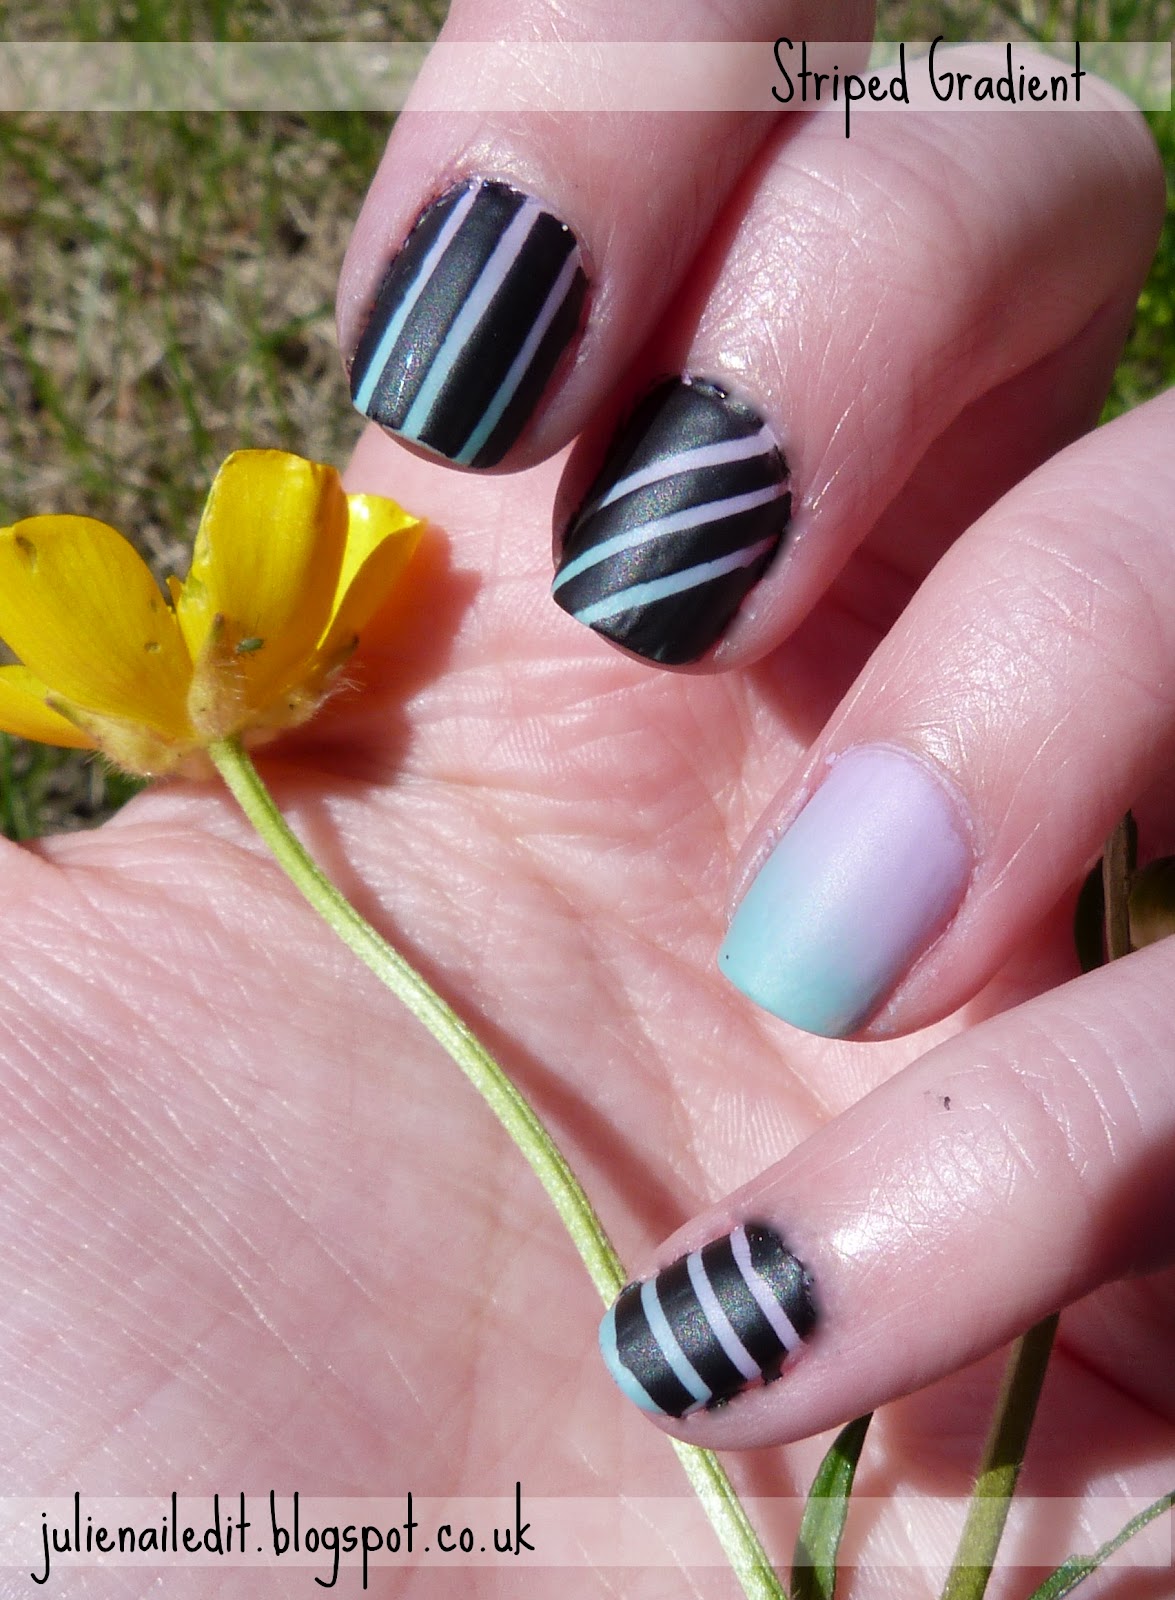
Striped Gradient


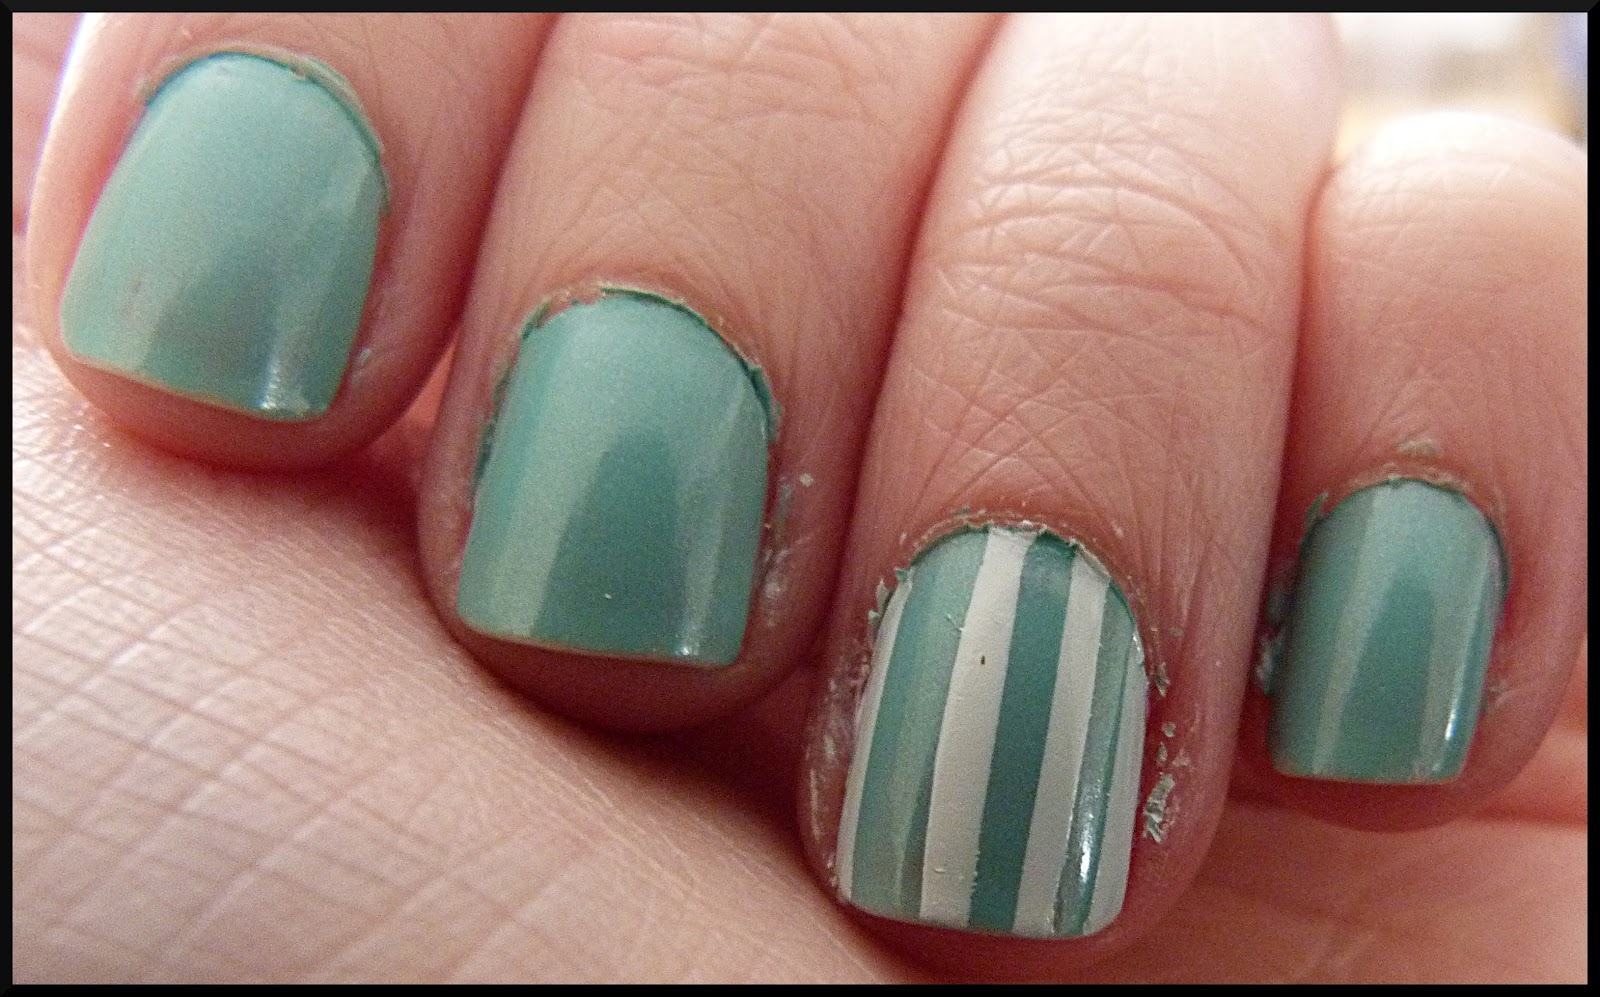
Here are my nails from last week.   I got bored of the gradient the next day so I decided to do it up by using striping tape and black nail polish.  I really like the end result :).  Only did a few nails so some of the gradient is still on show :)  What do you think?


Tuesday, 12 June 2012

Purple Tipped


Max Factor - Boji
Essie - Nice is Nice
Tape
Striping Tape

Firstly I got this idea from Pshiiit.  I have loved it for ages but never had a lilac to try it out with until now!  I bought Essie - Nice is Nice last week and I love it!  Three coats gives full coverage and it is such a lovely creamy lilac.  Here is how I did these nails:

  1. First paint your nails all over with your chosen base colour.
  2. Next once your base coat is dry put tape in a diagonal line so only part of the tips are showing and paint your second chosen colour.
  3. Remove your tape before the polish dries.
  4. Once this is dry take your striping tape and cut it to size and place over the line between the two colours.
  5. Finish with a couple of top coats to keep the striping tape in place.
I found that striping tape is very difficult to stay put!  It only lasted a day, but it was neat underneath so it looked fine when it did decide to come off!  


Thursday, 3 May 2012

Dotty!


My second post today!  Im off ill from college with a horrible fluey cold :( . So in-between doing college work I have been playing about with my nails! :) Here is a soft polkadot design!

China Glaze - White on white
George - Sherbet Fizz
George - Smarty Pants
Colour Trend - Iced Pink
Kirby Grip

  1. I first painted my nails all over with china glaze white on white with 3 coats.
  2. Once they were dry I dotted one colour at a time over all my nails :)
  3. I sealed with a topcoat and finished with a matte coat!
Let me know what you think!


Saturday, 21 April 2012

Spring Time


Here are some spring inspired nails I did this week.  I used:

Missguided Nail Polish - missChievous
Barry M - Yellow
Marks and Spencer - White Tip

I just used a kirby grip for a dotting tool for the flowers.  I really like it :) very springy!

Tuesday, 17 April 2012

Cloudy Days


Had a lot of these recently :)  got the idea from Polish Art Addiction http://polishartaddiction.blogspot.co.uk/2011/09/skies-above.html  she suggested a bird or two on an accent nail so I thought I would give it a go.  These only lasted an hour because my right hand just turned out disastrous and I can't go out with my nails looking less that perfect :P

The white polish didnt go on too well for me yesterday so the clouds ended up looking a bit bumpy! 

I used:
George - Smarty Pants
Marks and Spencer - White
Max Factor Onyx

Sunday, 15 April 2012

Dotted Green Tips


George - Smarty Pants
George - Base Coat
Marks and Spencer - White
Cocktail Stick

Here I painted my nails all over first with 2 coats of the base coat.  Once that was dry I put the french manicure stickers on to separate the tips off and painted them the smarty pants colour and fully painted my full coloured nail.  Once that was dry I dotted the white over the tips, and all over the full colour nail for this look.  And finally a topcoat.

My fiance took this photograph :) you can find other stuff by him here

I created the new title at the bottom of the picture to use on all the photographs from now on.  Let me know what you think.

This is my entry for the Born Pretty Store blog competition :)


Thursday, 12 April 2012

Matte Sparkle French Manicure


George - Base Coat
George - Jackpot
George - Matte Finisher
Marks and Spencer - White Tip
French Manicure Stickers

I bought 3 new nail polishes today, again all 3 by george from asda.  All 3 only £1.75 each.  Bargain if you don't have much change to spare.  Also picked up french manicure strips while I was in also for 99p.  So much easier than fiddling about trying to cut tape into perfect curved strips!

Here I used 2 of my new polishes named Base Coat (a nice natural colour) and Jackpot (a delicate silver glitter polish).  I applied 2 coats of the Base Coat to my nails.  I used my new manicure strips to separate the tips, painted them with white polish pulled off the strips and left to dry.  I applied another coat of the Base Coat and left to dry.  Next I put on a coat of Jackpot and left to dry.  Finally I put a coat of the matt finisher on finish.  I have never tried a matt french manicure or a glittery one but I think it turned out really nice and natural especially with the matt finish.  The glitter is so subtle with the one coat, I really like it.

Has anyone else had any experience with any of the george nail polishes? Let me know what you think of them?  Let me know what you think of these nails :)


Tuesday, 10 April 2012

White Tipped


George - Smarty Pants
Barry M - White
George - Matt Finisher
Topcoat
Tape
Silver Tinsel

I first painted my nails all over the smarty pants colour.  When that was dry I taped of a diagonal line for the white to go.  Once the white was dry I put a topcoat on and used tinsel cut to the size of my nails to separate the two colours.  Another topcoat once it was dry and finally a matt topcoat.  


Circus Nails


George - Smarty Pants
Barry M - White
Tape

Excuse the messy bits around my nails! First I painted my nails all over with smarty pants, then once that was dry I cut out thin and thicker strips of tape and put them on the nails I wanted the designs on.  I painted white polish over that and peeled the tape off before it dried.  Circus nails!


Candy Nails


George - Sherbert Fizz
Barry M - White
George - Matt Finisher
Tape

I first painted my nails the sherbert fizz pink and waited to dry before cutting tape into small long triangles and putting them on the nails I wanted the design on.  Covered those nails with white nail varnish and peeled off the tape before it dried.  Finished with a matt topcoat.

Excuse the mess around my nails haha.

Friday, 6 April 2012

Quick Easter Nails


These were just silly cute nails I did and managed to smudge straight after this webcam picture was taken so they had to come off :( 


I mixed my purple and yellow nail varnish with white nail varnish to get the lilacy and pale yellows :)


Here is the video I got the idea from:


Gradient Ombre Pinks


Max Factor - Disco Pink
Barry M - White
Topcoat
George Manicure - Matt Finisher
Cocktail Stick

I was just playing about with this, I didn't think this would actually turn out keepable!  I only have one shade of pink so I painted my thumb the original pink.  Then on a sheet of paper I mixed the white and pink together to make a lighter shade and that went on my index finger, added more white for the third finger and so on.  After that had dried I used the cocktail stick and the white to dot lots at the top and less as I came away from the tip.  I think it looks quite like snow :) I was going for an easter look, but seeing as it is snowing outside as I type this it is quite fitting!  I sealed with a topcoat and waited a few hours to dry completely before doing any washing or physical things with my hands.  The dots took ages to dry.  Next day I put on matt finisher and there you go!

ASDA Matt Finish

I love matt finishes but I cant afford to spend £10 on a nail varnish.  In asda I noticed a matt finisher by george.  For £1.75! So I bought it and it works great! I wish I had taken a before picture to show how it works. But here it is after I applied the matt:


It applies really well and easily.  I got two other george nail polishes today so when this chips off I will post those colours!

Friday, 30 March 2012

French Manicure with Bows 2


French Manicure with Bows 2

Colour Trend - Iced Pink
Barry M - White
Black Acrylic Paint
Tape
Small Paint Brush
Cocktail Stick
Topcoat

This is the second bow french manicure I did.  I love french manicures, they just always go with anything and make nails look neat.  I used a shimmery pink and a white nail varnish to create the classic french manicure and used tape cut into a curve to keep a nice neat line. After this was dry I used black acrylic paint and a small paint brush to draw a black line between the two colours and painted a small bow like above.  I then used a cocktail stick to place a small dot in between each bow.  Then used a topcoat to seal.


Purple Polka Dot Tips


Purple Polka Dot Tips

Max Factor Nailfinity - Boja
Max Factor Nailfinity - Onyx
Barry M - White
Topcoat
Kirby Grip
Tape

I nailed this look by first painting my nails a dull purple and waited for it to dry.  I used tape to make a diagonal tip, then i painted a thin white line along the edge of the tape.  I waited for this to dry completely and put another piece of tape just a little bit above the bottom line to make sure it was completely straight and perfect, I then painted the rest of the tip black so when I pulled off the tape I was left with my nails in picture one.  I really liked this effect but I really wanted to go for cute polka dots so I put a little of my white polish on a piece of foil and used my kirby grip to place even spots on the black tips.  Finish with a top coat.

http://polishartaddiction.blogspot.co.uk/2011/09/teal-polka-dots.html  Here is where I originally saw the idea :)

I will try and take more pictures of the process I go through to do my nails :)

French Manicure with Bows


French Manicure with Bows

Colour Trend - Iced Pink
Barry M - White
Black Acrylic Paint
Tape
Topcoat
Small Paint Brush

I nailed this look by first creating a classic french manicure using baby pink shimmer nail polish, and white.  I used tape which I cut into a curve to create a nice line.  Next I used acrylic paint and a small paint brush to draw a line between the two colours and paint a small simple bow.  I finished with a top coat.

This is the first of another bow french manicure I tried.